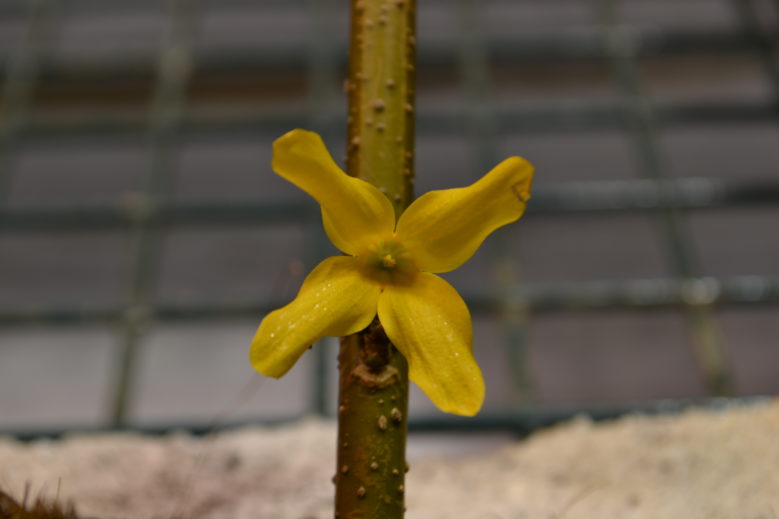
How to Use a Dormant Forsythia Cutting for Added Color Indoors
Forsythia is one of the first plants to bloom in the spring. It has very abundant, bright yellow, delicate-looking flowers, but it is also a VERY forgiving plant. I say we take advantage of all those buds and use them to bring us one step closer to summer! Here’s how to take a dormant Forsythia cutting from your plant, repot it, and coax some color out of it for your kitchen table!
1. CUTTING THE CUTTING
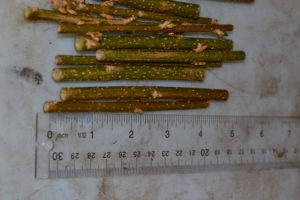
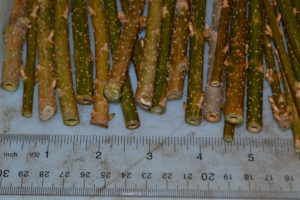
The first thing to do is take a series of cuttings from a dormant Forsythia that has 4 to 6 healthy looking buds. Make a clean cut as to not damage the rooting site. I tend to take cuttings around 4 to 6 inches in length and ¼ inch in width. This does not have to be exact and can vary depending on the project or desired result.
2. USING ROOT STIMULATOR
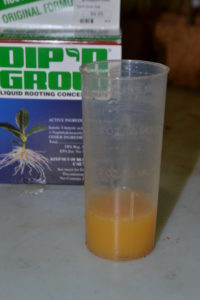
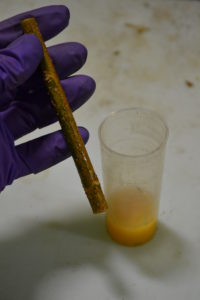
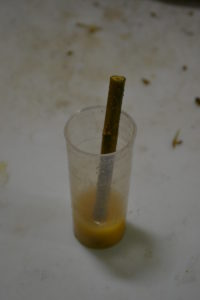
This is the time to use a “root stimulator.” Though it’s not necessary, root stimulators can increase success in plants that are often difficult to root. Never dip the cutting directly into the original container of stimulator. Always put a small amount into a separate container to dip into. This reduces the risk of pathogen contamination. Keep in mind that using larger volumes of stimulator or keeping the cutting submerged for a longer period of time typically does not improve rooting time or success but can actually reduce root formation and damage the rooting site. Less is more. Dip 2 to 3 inches of the rooting-end of the cutting in the stimulator for a few seconds and remove.
3. PLANTING THE CUTTING
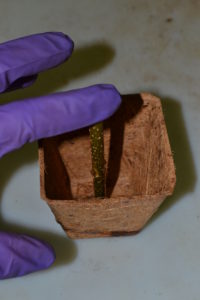
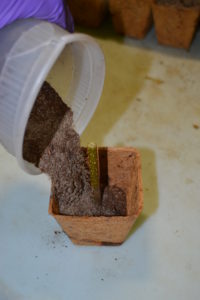
Finally, move the cutting into its container to form roots. I like to use a biodegradable coconut coir pot that roots can grow through which eliminates a step when it’s time to transplant. Place the cutting in the center of the pot and fill it with a propagation media, one that has good drainage and aeration while still being able to hold water. I simply use 50% peatmoss and 50% coarse sand. This seems to work very well for this project. Now, fully saturate the media with water and move into a warm, humid area that has bright, but indirect light.
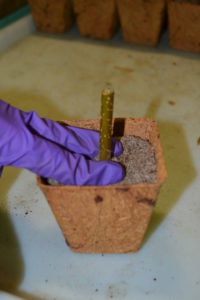
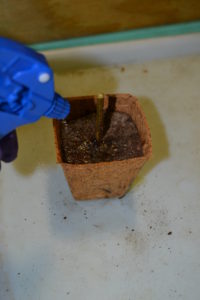
That’s it! You should start to see the buds open into bright, yellow flowers in about a week, depending on conditions.
* A tip for faster flower formation is to maintain a consistent environment by placing the potted cuttings into a plastic bag that has a few holes for air exchange. Make sure the bag is large enough to give space for leaf and flower development so it’s not growing up against the side of the bag.
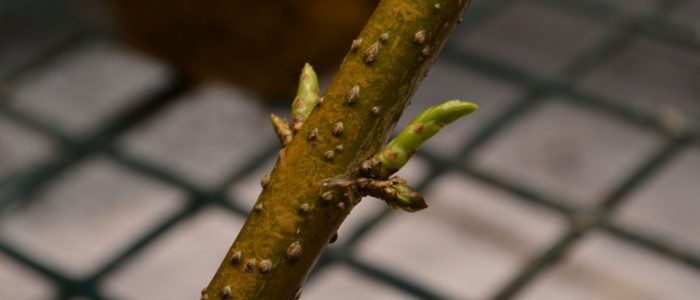
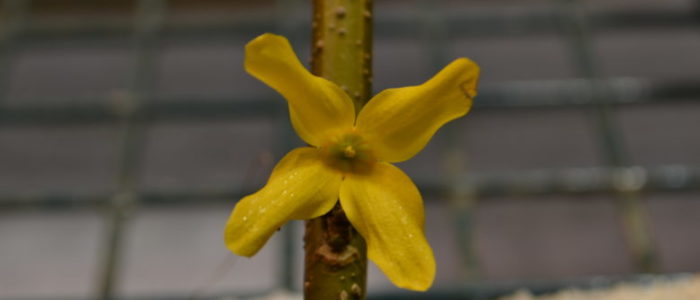
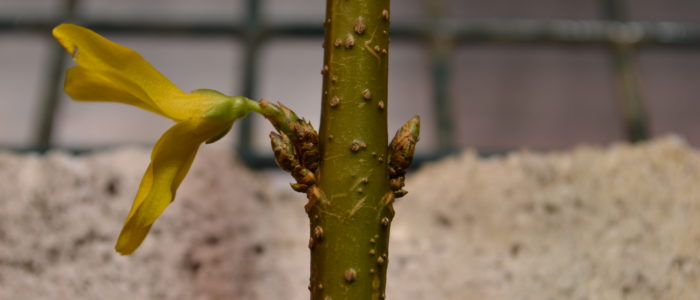
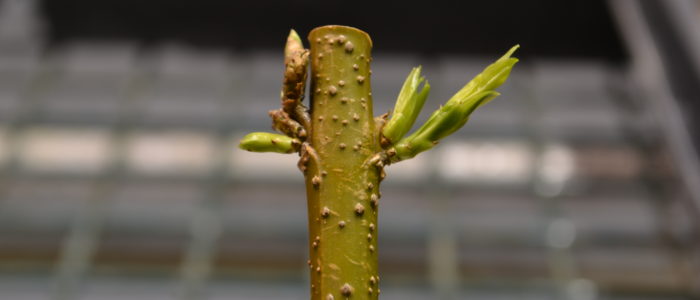
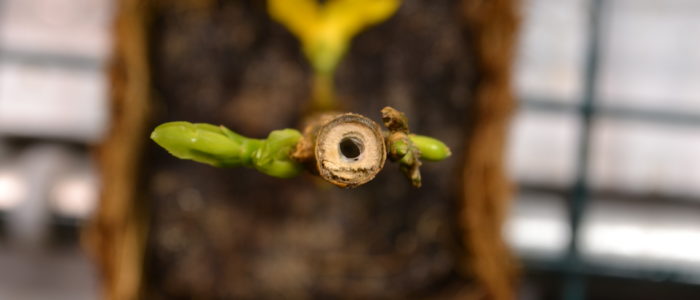
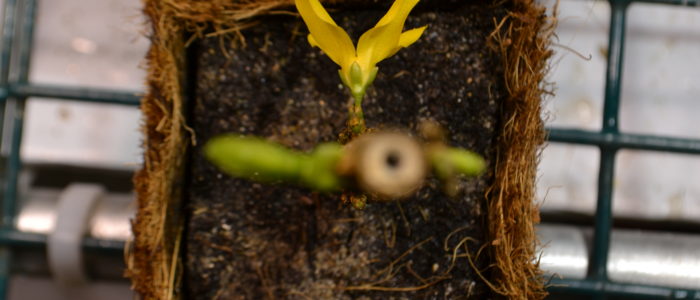
Click through below to see how the cuttings will look after they begin blooming!


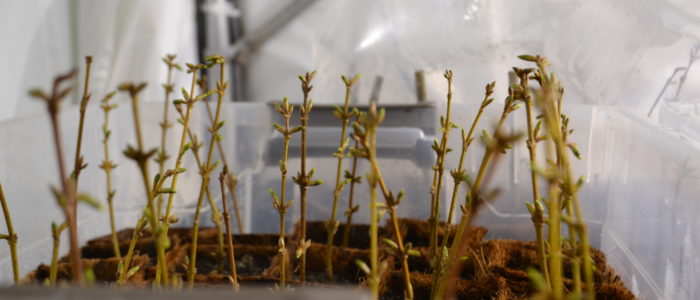
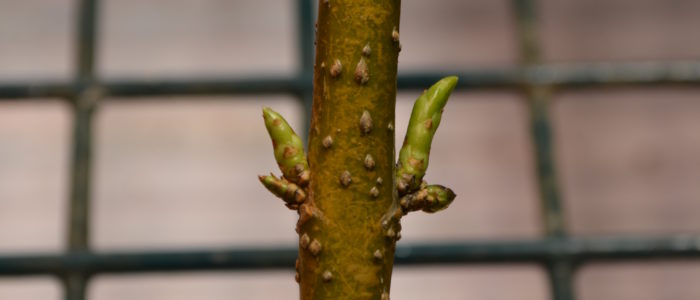
Sorry, the comment form is closed at this time.